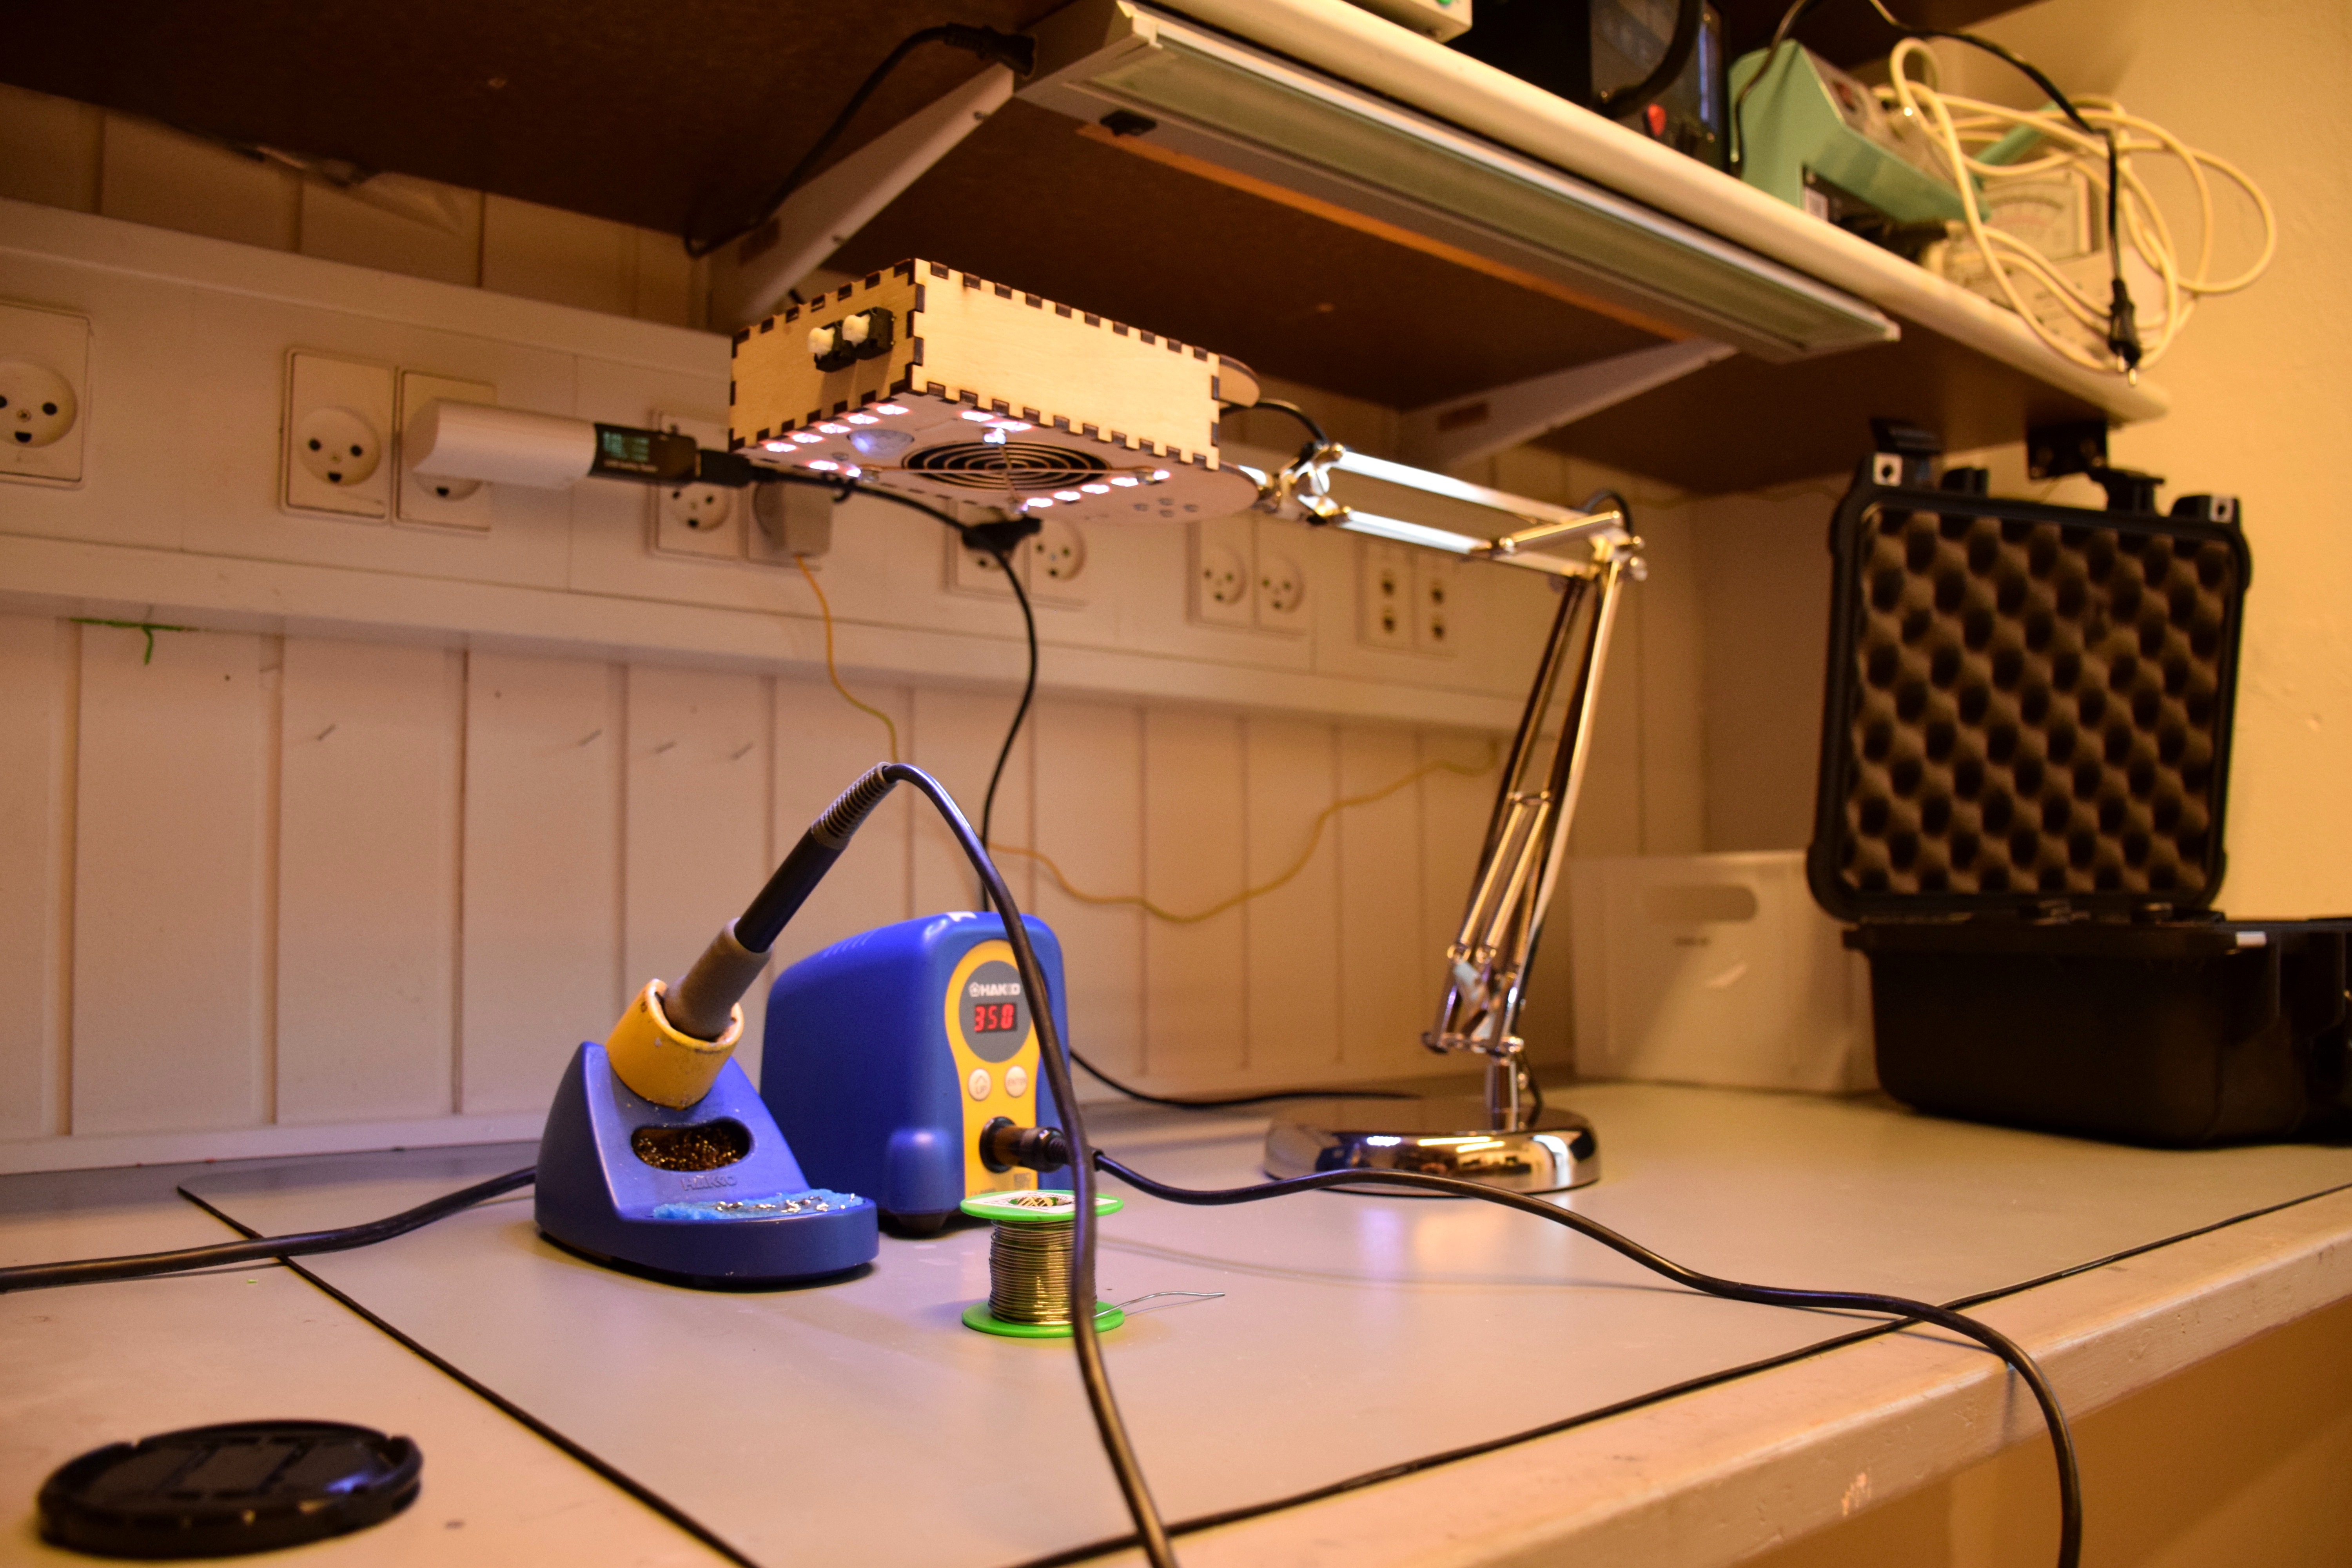
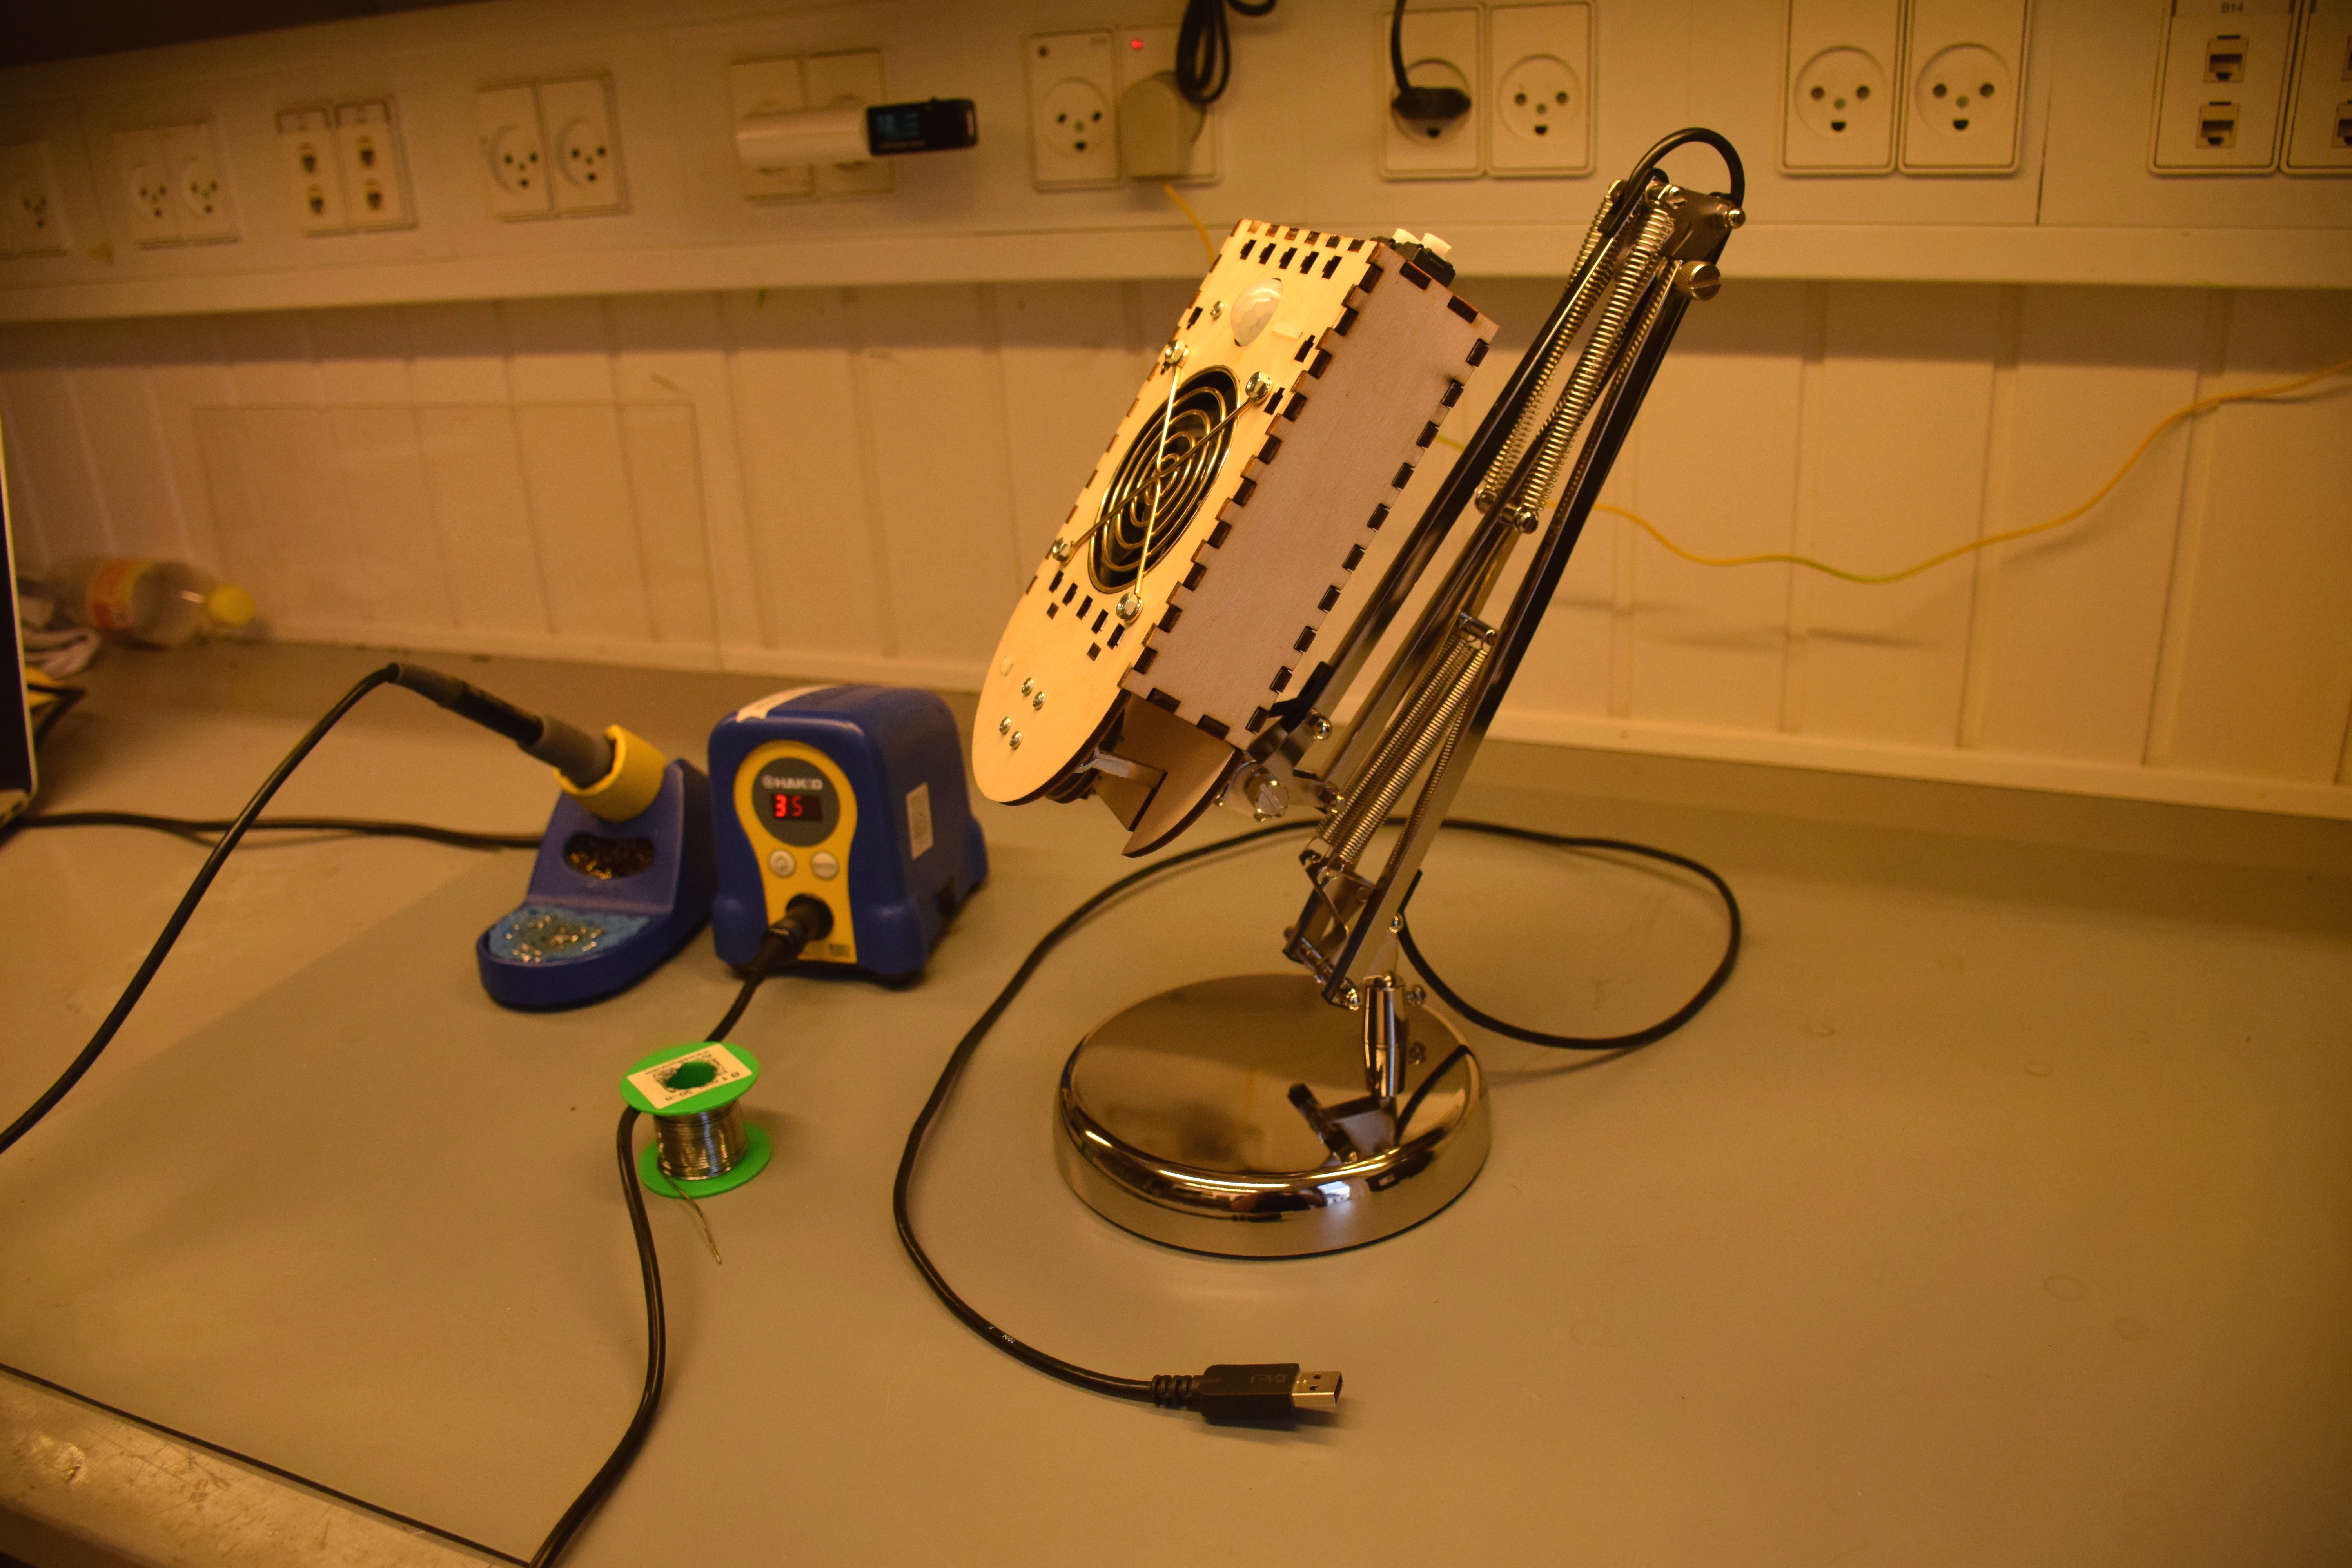
I needed something to remove the smoke when soldering and build this USB powered solder fume fan lamp with an ESP8266 arduino, WS2812b/Neopixels, a fan with an active coal filter and a PIR sensor.
Scad/svg files are available on Thingiverse.
The case is lasercutted in 4 mm plywood.
When there is no movement beneath the lamp the fan turns off after e.g. 60 seconds (can be extended to e.g. 1800 when holding down the fan button) and the LED turns off after 1800 seconds of inactivity. The LED intensity can be dimmed by holding down the LED button.
 Parts list:
* 4 mm plywood for the laser cutted case
* Ikea Forså lamp ( https://www.ikea.com/us/en/catalog/products/80146777/ )
* WS2812b / Neopixel strip (30 LED/m, 12 LED’s are used for the lamp. I bought it on Ali Express)
* Level shifter from 3.3 V to 5 V for the 3.3 V output from the PIR sensor (https://www.adafruit.com/product/757 I bougt it on AliExpress)
* 1.5 mF capacitor betwen +5 V and ground near the Neopixels, for evening out voltage drops and ripple from the USB power.
* PIR sensor (https://www.adafruit.com/product/189 I bought it on AliExpress)
* Fan (80 mm, 12 V. It was just laying around)
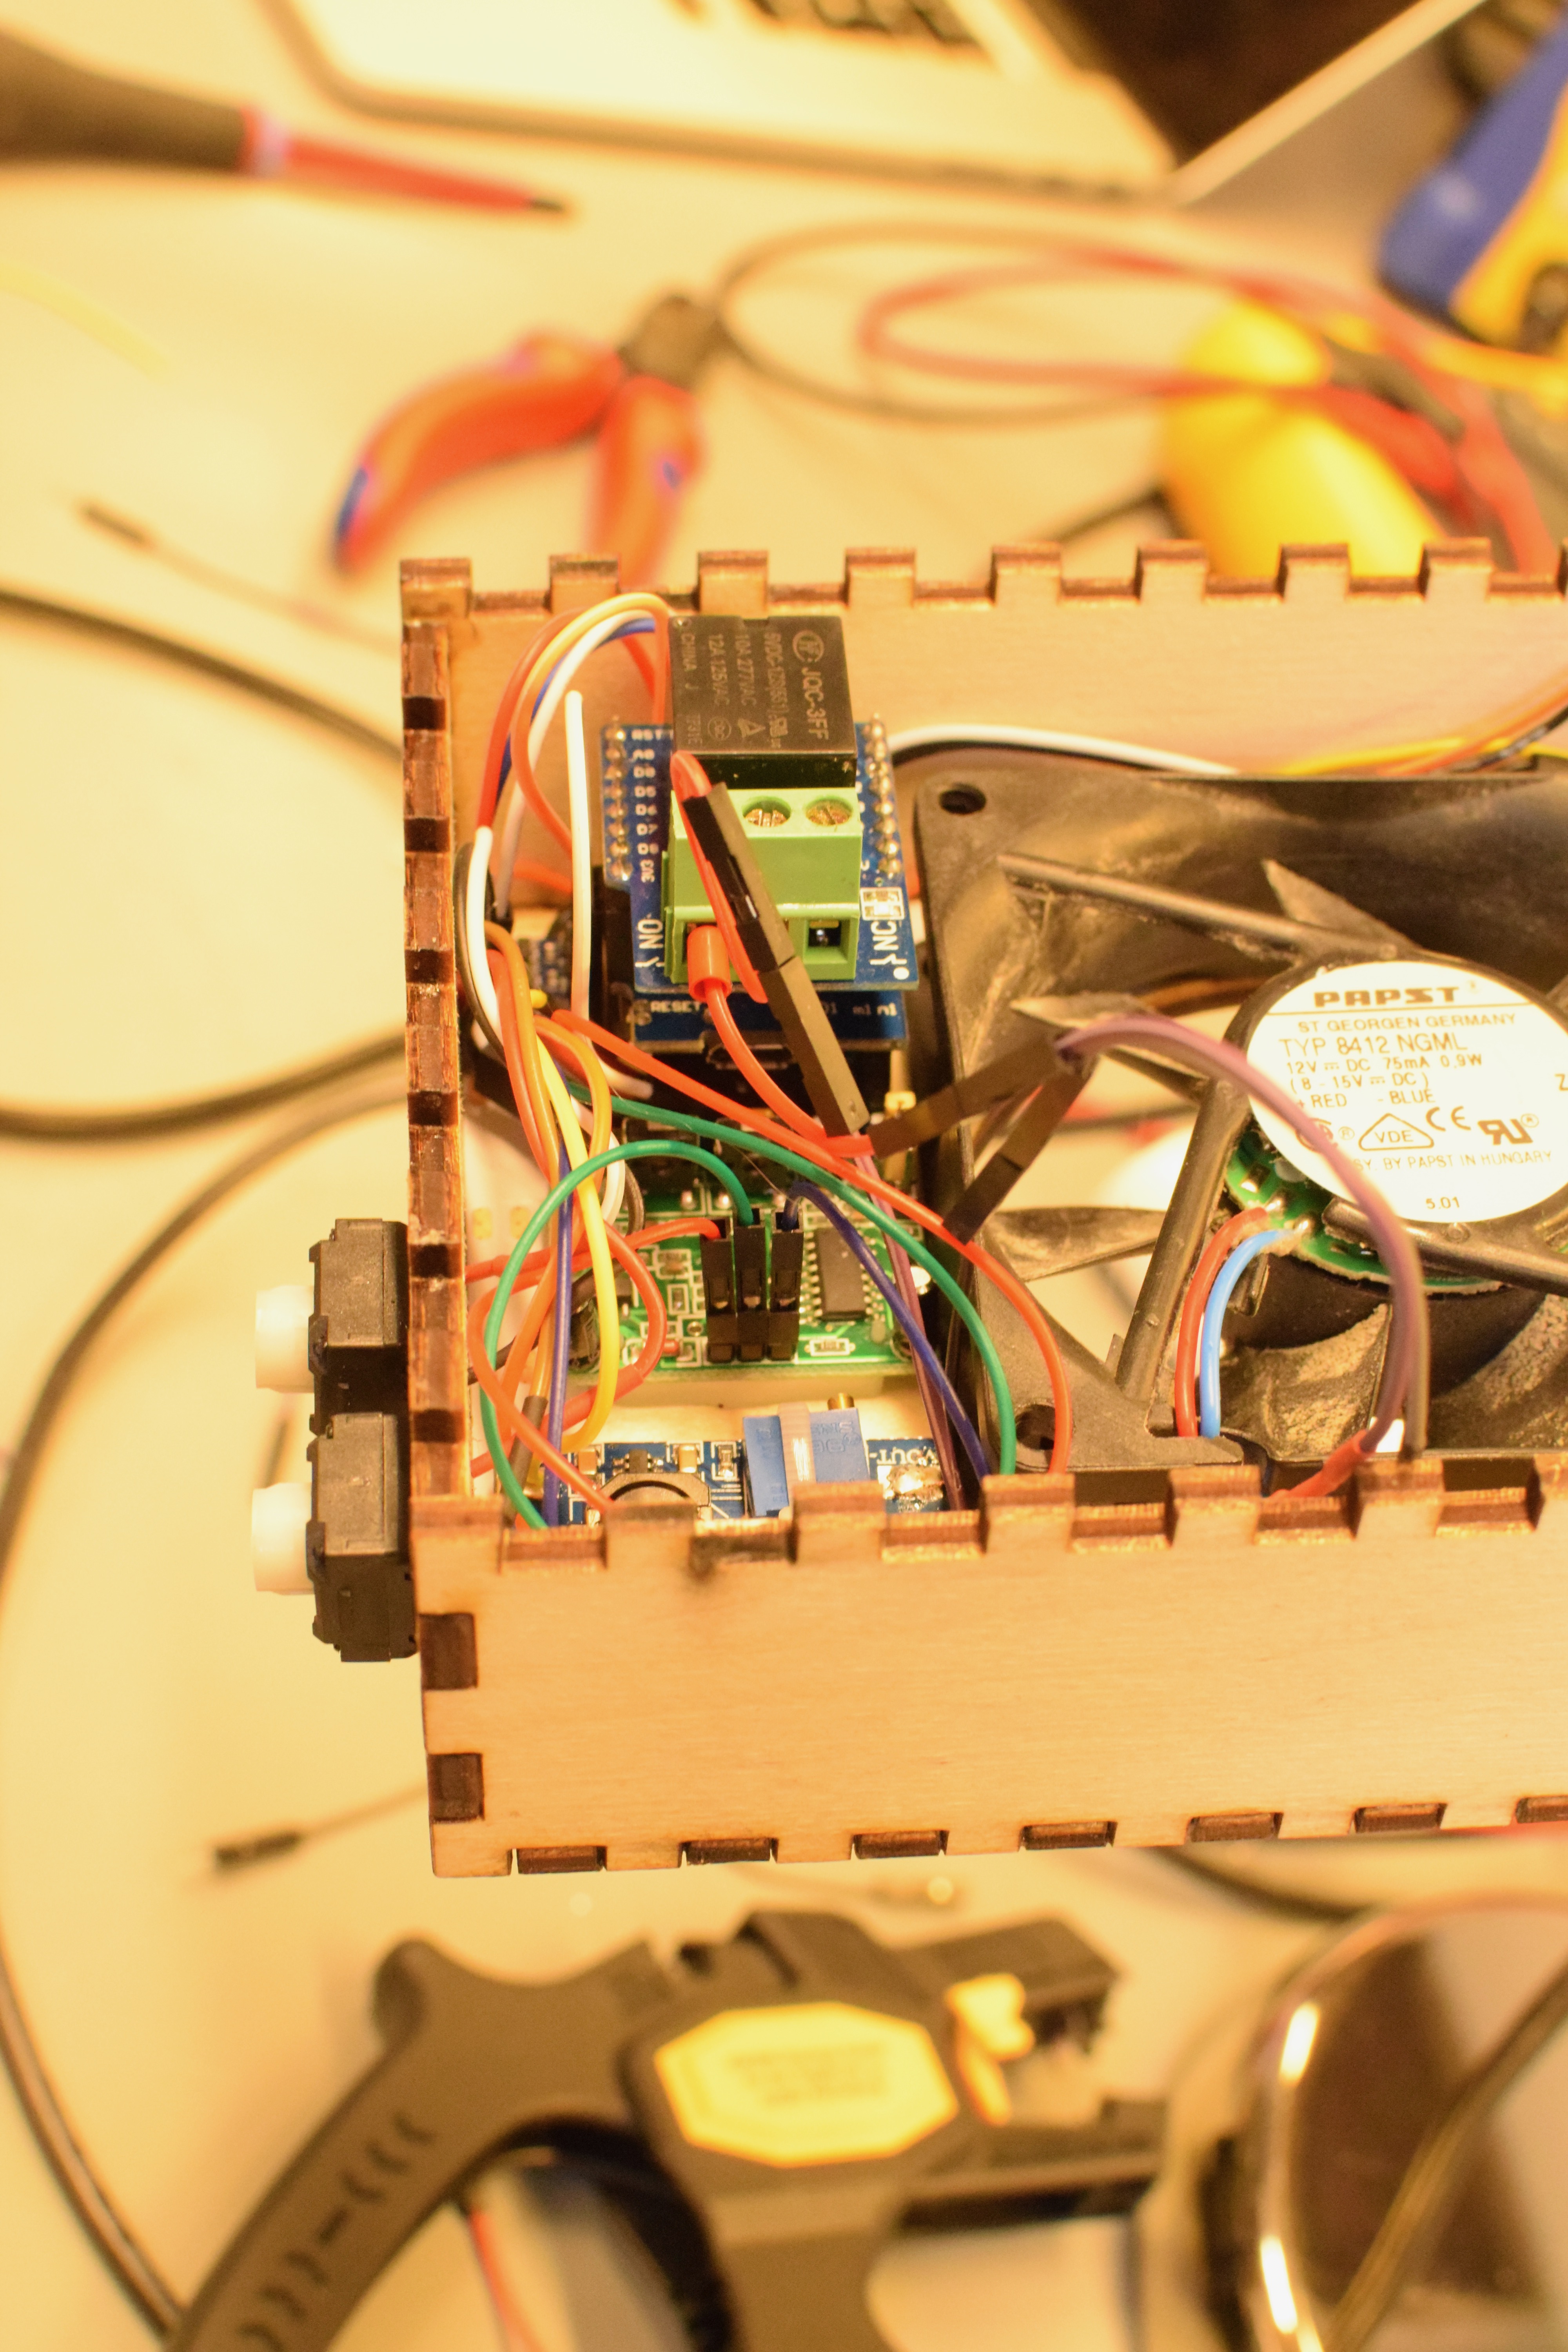
* Wemos D1 mini (https://www.wemos.cc/product/d1-mini.html)
* Wemos ProtoBoard (https://www.wemos.cc/product/protoboard.html)
* Wemos RelayShield for turning the fan on and off (https://www.wemos.cc/product/relay-shield.html)
* MT3608 DC-DC Step Up Power Module from AliE for the power for the 12 V fan
* Activated coal filter (adjusted the size with a scissor) (https://www.conrad.de/de/aktivkohlefilter-3teilig-toolcraft-79-7201-588546.html i bought it on AliE)
* two push buttons, connecting the pins from the ESP8266 to ground.
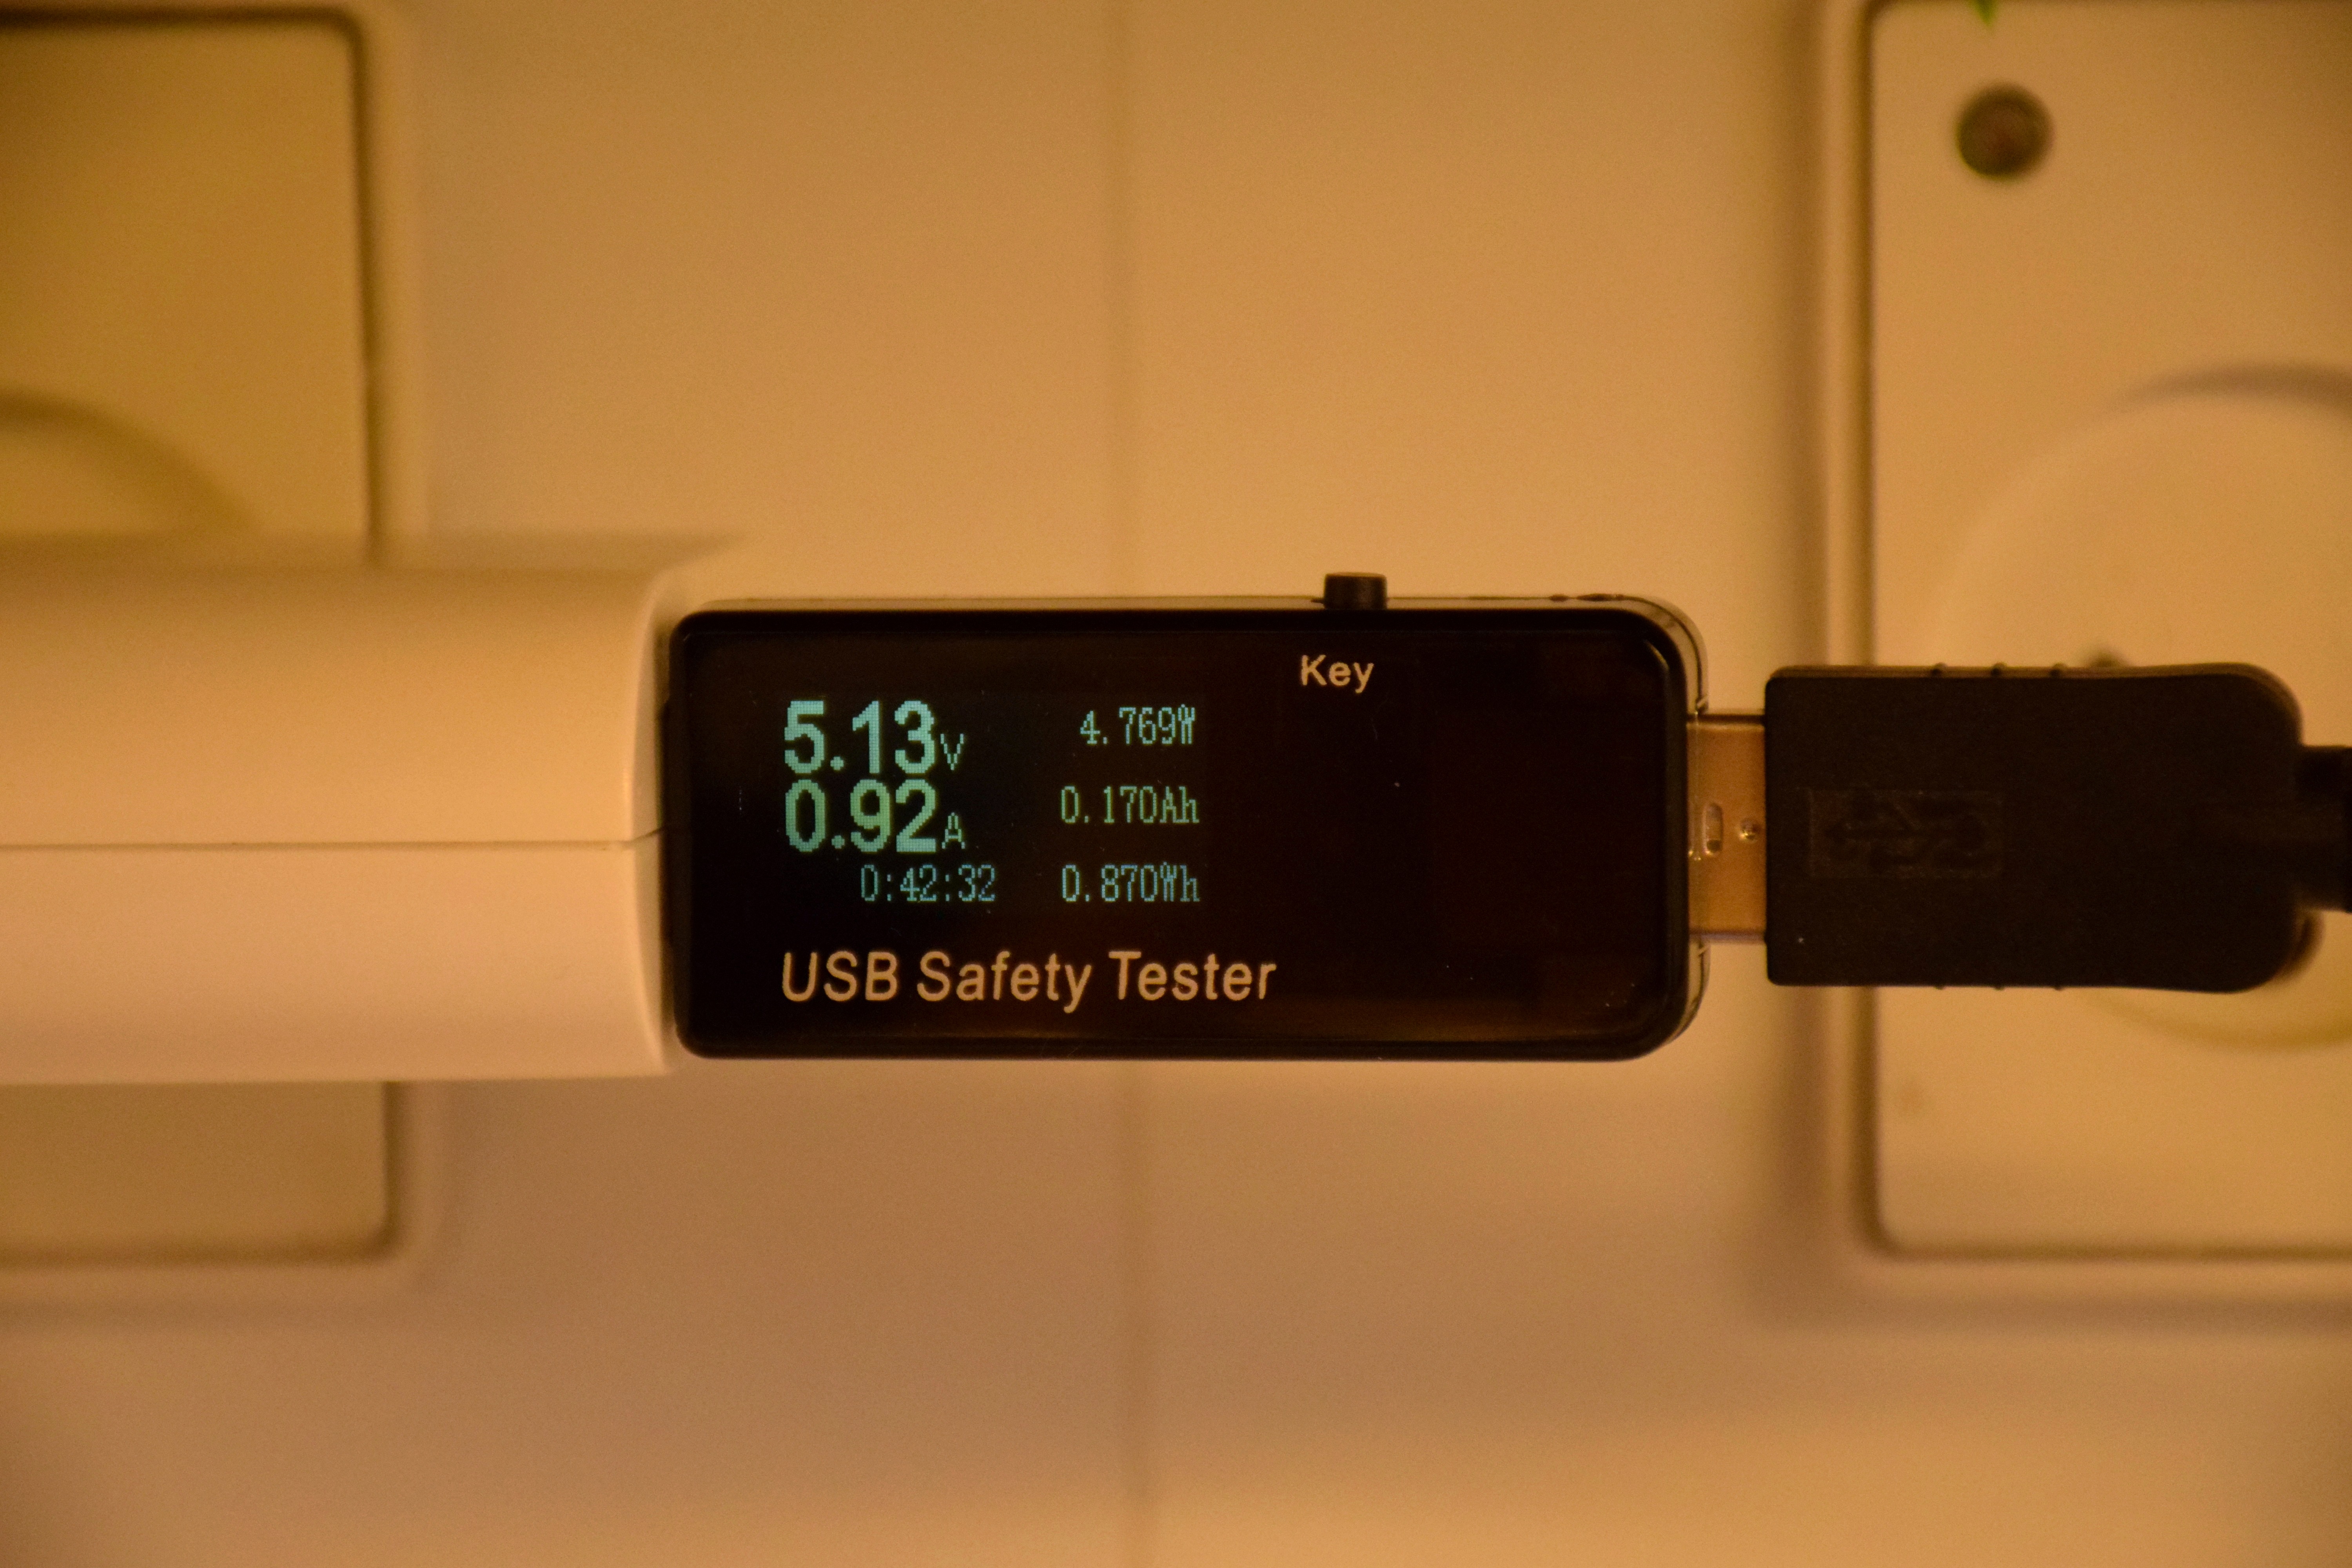
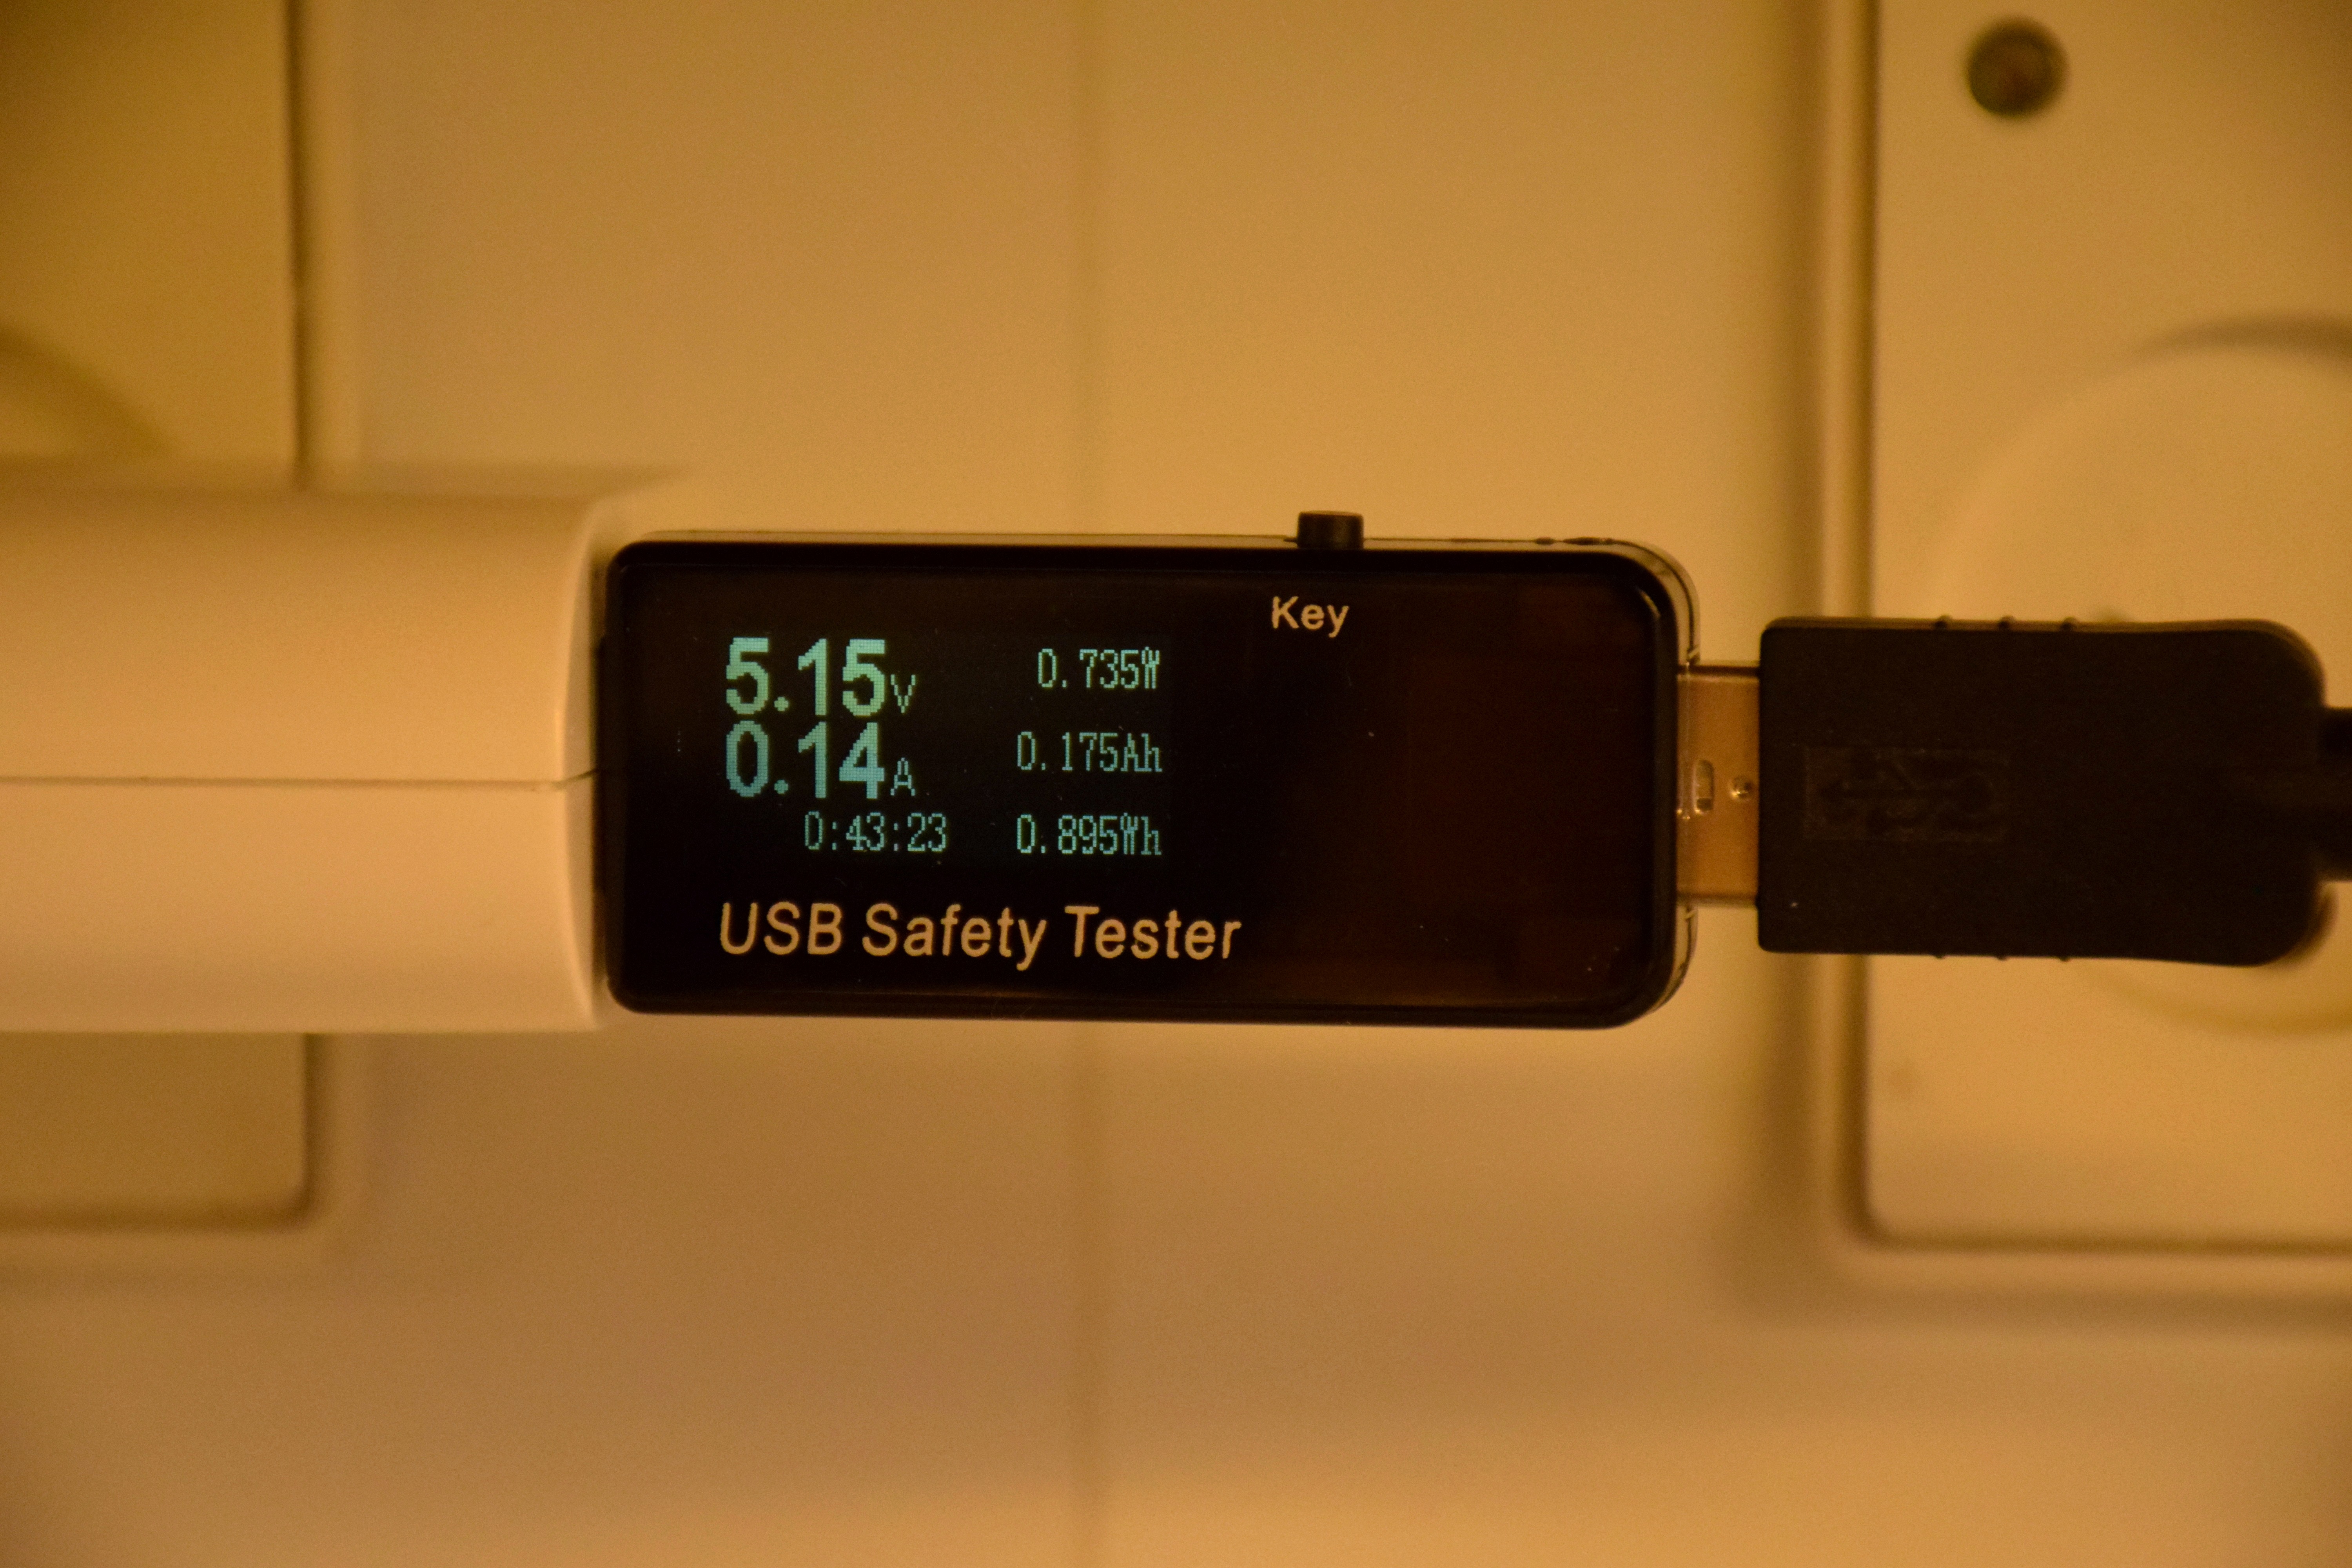
* USB cable
* A few strips, pig tail wires, bolt and nuts etc.
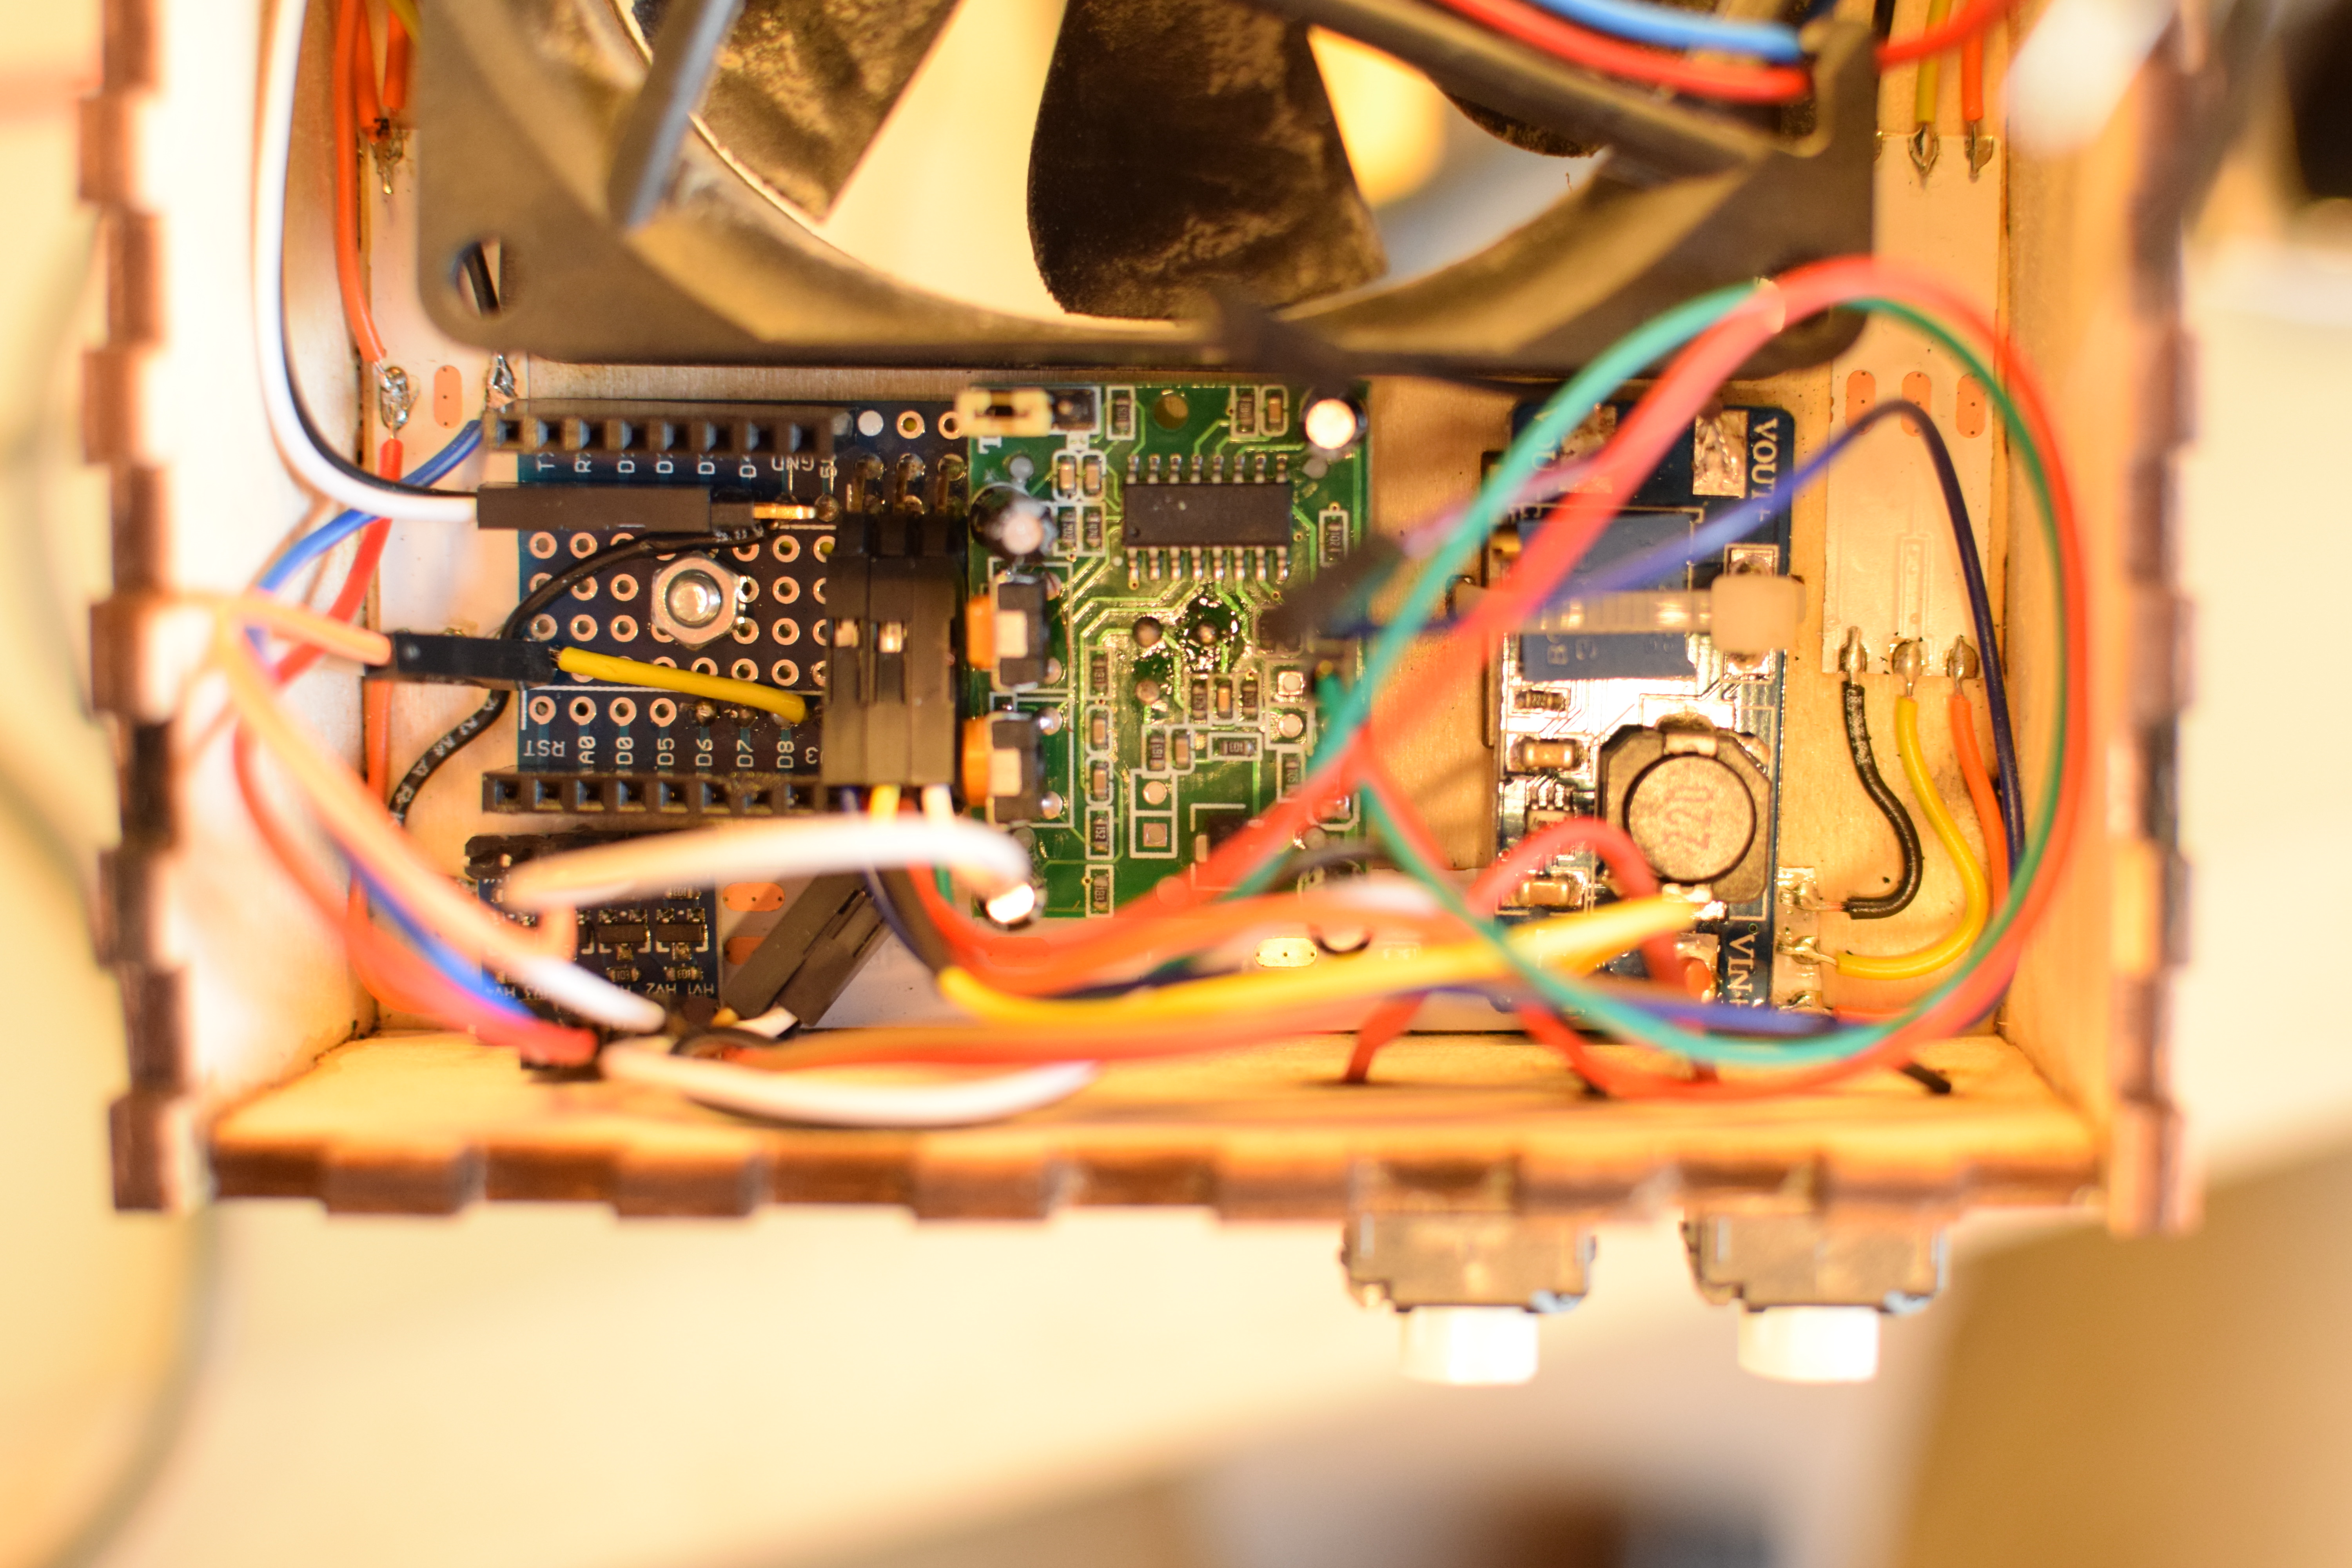
The case is glued together with normal wood glue and the PIR sensor and the WS2812b Neopixel strips are glued against the case with cyanoacrylate. The DC-DC converter is fixed with a cable tie. The Wemos D1 mini is fixed with a small bolt through a drilled hole in the ProtoBoard. The capacitor and the level shifter is glued with a hot glue gun. Be aware that there is very little room for the boards and the wires. If I were to build it again I would make some more room.
Also the “stack” of the Wemos ProtoBoard, D1 mini and RelayShield is higher than the fan + activated coal filter, so it sticks out of the top, which I think is fine. All the parts do not need to be hidden away for the eye to see 🙂
The software is available at:
https://github.com/sman-dk/arduino/tree/master/solder_fume_lamp
Since the ESP8266/Wemos D1 mini has wifi capability future improvements of the software will of course be to make it controllable via wifi 🙂